When you click on a page, scroll past this week's featured photo to view.

WELCOME!

This site is dedicated to sharing what we have learned with you! Enjoy our tutorials, and if you have a question please feel free to ask! I know one of our sugar enthusiasts will either know or try to find the answer.
We all have something to share...and we all have something to learn!


___________________________________________________________


Nothing says Irish like Beautiful Lace

Nothing says Irish like Beautiful Lace
Click on photo for Earlene Moore's tutorial for beautiful fondant lace and have fun with your next cake!


.............................................................................................................................

/////////////////////////////////////////////////////////////////
.............................................................................................................................


Monday, April 26, 2010

Mocha Chip Meringues


These are Amazing!!

Makes 48..


3/4 cup sugar
1 tablespoon cornstarch
3 large egg whites, room temperature
1/4 teaspoon salt
1 teaspoon instant espresso powder
3 tablespoons unsweetened cocoa powder
1/2 cup semisweet chocolate chips


Directions:

Preheat oven to 300 degrees, with racks in upper and lower thirds.

Line two large baking sheets with parchment paper; set aside.

In a small bowl, whisk together sugar and cornstarch; set aside.

In a large bowl, using an electric mixer, beat egg whites and salt on medium speed until frothy.

Beating constantly, add sugar mixture 1 tablespoon at a time; beat until stiff, glossy peaks form, 6 to 8 minutes total (scrape down the bowl halfway through).

Add espresso powder and cocoa; beat until well blended.

With a rubber spatula, fold in chocolate chips.

Drop batter by level tablespoons onto prepared baking sheets, about 1 inch apart.

Bake until crisp, about 40 minutes, rotating sheets halfway through.

Cool completely on sheets, about 20 minutes.


Martha Stewart Recipe..
Photography by Diane Marks. 2010. All rights reserved.

Monday, April 19, 2010

Southern Magnolias- Sharon Zambito's Method

Hello Sugar Friends!


Ah, summertime in the deep south. Warm sun, cool breezes, the magnolias are in bloom....

Wait. Who am I kidding? It's hot as friggin' Hades down here. There sure ain't no cool breezes, and there ain't no magnolias right now either. I don't even know when they bloom. It just sounded like a good opening. :)
Anyway, I did this little wedding cake a few weeks ago. Ivory buttercream with white buttercream stenciling and gumpaste magnolias.


---------------------------------------------


I used this Designer Stencil for the cake sides. Notice that I taped a piece of card stock to the bottom of the stencil to boost it up to the exact height I needed it to be. That way I did not have to try to hold it in place freehand while stenciling, and run the risk of the stencil moving while I worked.


Showing 2 sides. Perty huh?

This photo was taken with a flash at the venue, so it it is not so flattering, but I wanted you to see the full effect of the stencils. The 8mm bead maker was used for the pearl borders.


--------------------------------

I had not made magnolias before, so I bought Nic Lodge's video on it. His videos are very good, step by step instruction on flowers, and a great value. I did not follow his instructions exactly, as I wanted my flower to be a bit more frilly than his was.


I taped three 18 gauge wires together with floral tape for the stem. I made a large cone of gumpaste and cut V's into it with a tiny scissors. I folded back the tips a bit with my finger.


These are wired petals so I rolled out my paste onto the Cel Board.


Turn the paste over so the center vein is up, and cut out the petal.


Thread a 24 gauge wire into the vein.


Thin the edges with a ball tool.

Dry them over large soup spoons for shape.


After they are all dry, dust everything for color, assemble and steam.

Who cares if the magnolias are in bloom when you can make your own?

-------------------------------------------
Happy caking everyone!
Sharon

 
Tutorial and Photography By Sharon Zambito. All Rights Reserved. 2009
 
This tutorial was used with the expressed permission of Sharon Zambito.
It may not be reproduce in any form without the written permission from the author.

Monday, April 12, 2010

Gumpaste Blossoms by Jennifer Dontz

This Week's tutorial is on one of my very favorite cake toys, the blossom cutter / veines set. I LUV LUV this set! I think everyone should have it, so if you do not, you might want to put it on your wish list. I make out of fondant These Because first and foremost, I Always think of taste with my cakes. Sure you Can Make them out of Gump, But fondant is more palatable.


Here's a link to the set on Our Site: Sugar Delites


1. I roll my paste to # 2 on the Kitchen Aid pasta attachment. (Luv That BTW, if You Do not have one, get one! I had a manual for years and this Allows an extra hand in the kitchen :-) Cut out the blossom shape using the cutter in the set. We Also sell September 5 petal blossom Which makes for really cute little apple blossoms and cherry blossoms as well. That tiny little pinches in September has in it, Which Gives them a really cute edging.
blossom1resz.jpg
2. Place the paste Vein Between the 2 piece, matching up the notches on the sides of the veiners. Press Gently, You Really Do Not Have to put much pressure at all. If You are not getting your subtle lines in the paste, press a bit harder. If you are cutting the paste, you are pressing too hard.
blossom2resz.jpg
3. Then I open up the veines and with quick flicks of my fingers, Loos Each petal. If You Have Problems with sticking, just dust the paste a bit better. Then I pop the small kiss Into These formers. This little shapes in September Former them beautifully. http://jenniferdontz.com/viewproduct.php?itemid=for006
blossom3resz.jpg
To finish, add a little dust or petal Simply airbrush them .... Adding to piped or dragee dot in the center. They are so cute and so easy to make! Here's a couple cakes I did using the blossoms: (On the cake Below, I Used petal dusts to add the pink color) See what I mean HAVING about "stock" flowers. You can do them in white color and add whatever you Need to the centers at the time. A real time saver When you are busy.

And, They last for months stored in boxes.

Below on the cake, I airbrushed the flowers. I Also Used frill cutters to do the chocolate lace around the top and the baby bootie booties in September for the sugar. If You Have Any Questions, you know I'm here to try and help.
I make them up ahead and keep them in little bowls .... I call them "stock" flowers. I can dust them or airbrush Any Color When needed.
baby pkgood.jpg

Tutorial and Photography by Jennifer Sugar Delites Dontz-2010-all rights reserved
This tutorial Was Used with permission by Jen Dontz.
This material may not be republished or reproduced in any manner without the expressed permission of the author.

Monday, April 5, 2010

How to Make a Gumpaste Bow


In this tutorial I teach how to make a bow.

Hope you enjoy! ***


(***PLEASE NOTE: This video clip is linked the YouTube site.
We are not responsible for the material posted on YouTube by other users.
Clicking on random thumbnails at the bottom of the tutorial may link you to offensive material
that does not reflect the standards of our blog.)

This material may not be republished or reproduced in any manner without the expressed permission of the author.

Search This Blog

The Tutorials This Week Were Generously Shared by

RHONDA CHRISTENSEN, EARLENE MOORE, BOBBIE NOTO, EDNA DE LA CRUZ & TONI BRANCATISANO

And to ALL of our Readers...

Above all, have fun and keep baking!

Think CHOCOLATE!

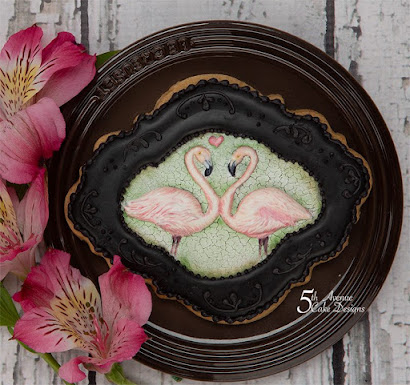
A Very Sweet Tutorial by Bobbie Noto

A Very Sweet Tutorial by Bobbie Noto
I was instantly in love when Bobbie Noto shared this cookie with SugarTeachers! She is an amazing talent. For instructions on how to create this adorable cookie, click on the photo and don't forget to subscribe to Bobbie's website!

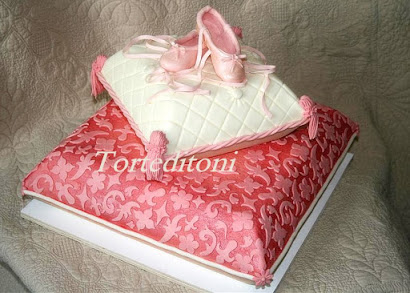
Pillow Cake Tutorial by Toni Brancatisano

Pillow Cake Tutorial by Toni Brancatisano
How beautiful! A great tutorial shared byToni Brancatisano. Click on photo to see the tutorial!

Pistachio-Cardamom Cake

Pistachio-Cardamom Cake
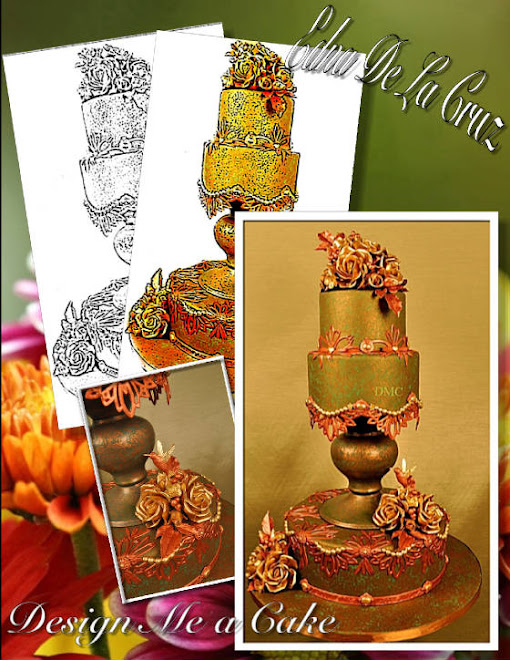
Click on link for Edna De La Cruz's dee-lish cake recipe.

Related Posts with Thumbnails