When you click on a page, scroll past this week's featured photo to view.

WELCOME!

This site is dedicated to sharing what we have learned with you! Enjoy our tutorials, and if you have a question please feel free to ask! I know one of our sugar enthusiasts will either know or try to find the answer.
We all have something to share...and we all have something to learn!


___________________________________________________________


Nothing says Irish like Beautiful Lace

Nothing says Irish like Beautiful Lace
Click on photo for Earlene Moore's tutorial for beautiful fondant lace and have fun with your next cake!


.............................................................................................................................

/////////////////////////////////////////////////////////////////
.............................................................................................................................


Monday, October 25, 2010

Spooktacular Halloween Cupcakes


How fun is Halloween. This year, I would like to
share the step by step instructions to create
Fun and Spooky  Key Lime Cupcakes!


You will need:

2 dozen of your favorite cupcakes, baked and iced
substituting Limeade for the Lemonade concentrate along with green food coloring
and iced the cupcakes with cream cheese frosting.)
Airbrush
Avocado, Violet, Orange
White and Black Confectioner's Melts
#8,#4 Piping Tips

I used a half recipe and have some left over.

(Be sure to Check out A&H CakeDesign for
Americolors, PME tools and Ateco Cutters.)


 Melt 1/2 cup white confectioner's melts. Pour into a plastic piping bag and
cut off tip. On Parchemnt paper, pipe 8 lines intersecting in the center, as shown above.


Connect the lines, creating a "spider web".  You will need two dozen webs.
Make extra to allow for breakage. These are easier to handle if piped in heavier lines.

Allow to set and carefully lift off parchment paper with a thin spatula.

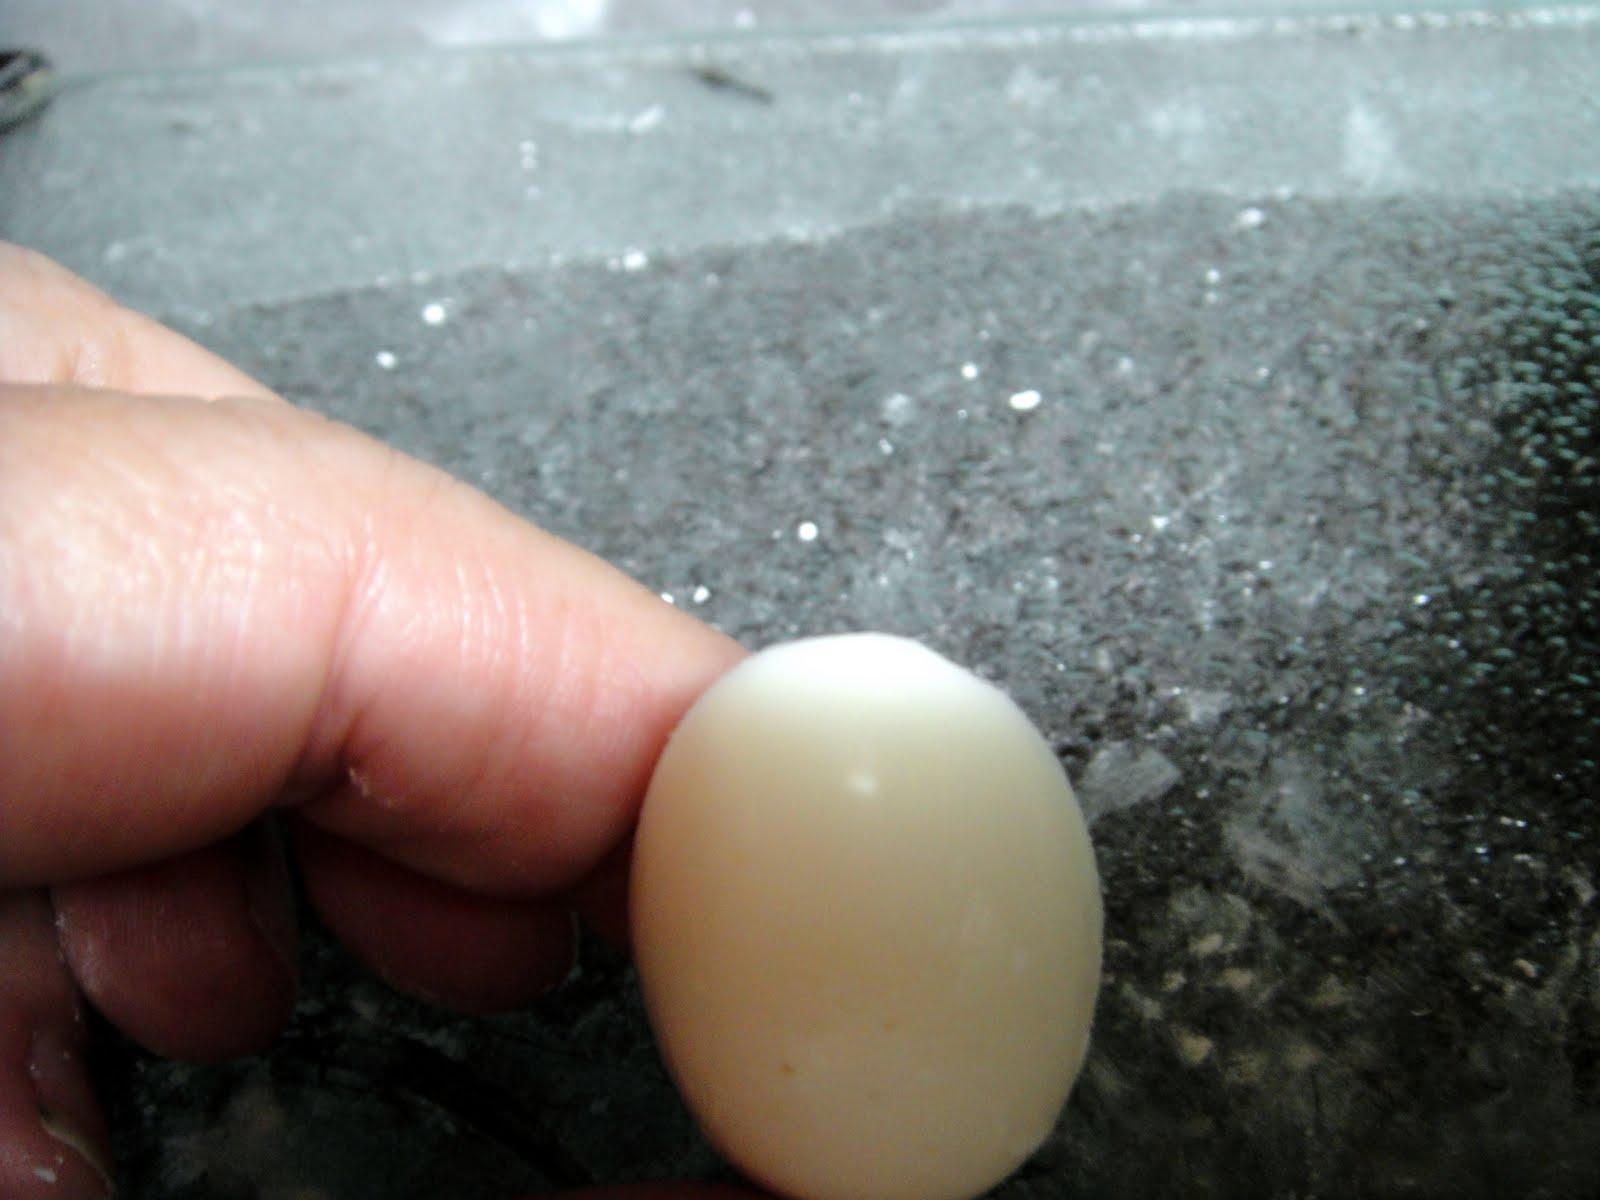
 With remaining white chocolate, fill 8 egg cups.
Allow to harden then pop out of mold and set aside.


Wash and dry chocolate mold.
Melt 1/2 cup black confectioners melts and fill 16 cups.
Allow to harden and set aside.

 Roll out white candy clay on surface dusted with confectioner's sugar.
Using 3" circle cutter, cut 8 circles.
 Stand white egg on end and drape the 3" circle over it, creating
a ghost's body.
 Set aside and allow to firm.
 Using the black candy clay, roll out between sheets of wax paper
Cut a 1-1/2" wingspan using the PME wheel cutter.
Make 8 batwings
These do not need to be perfect. In fact the presentation
is much cuter if they all are a bit different.
Place 8 eggs, narrow end up, over the wings and allow to firm.
They should attach to the chocolate, but if they are difficult, you
can use melted chocolate to attach.

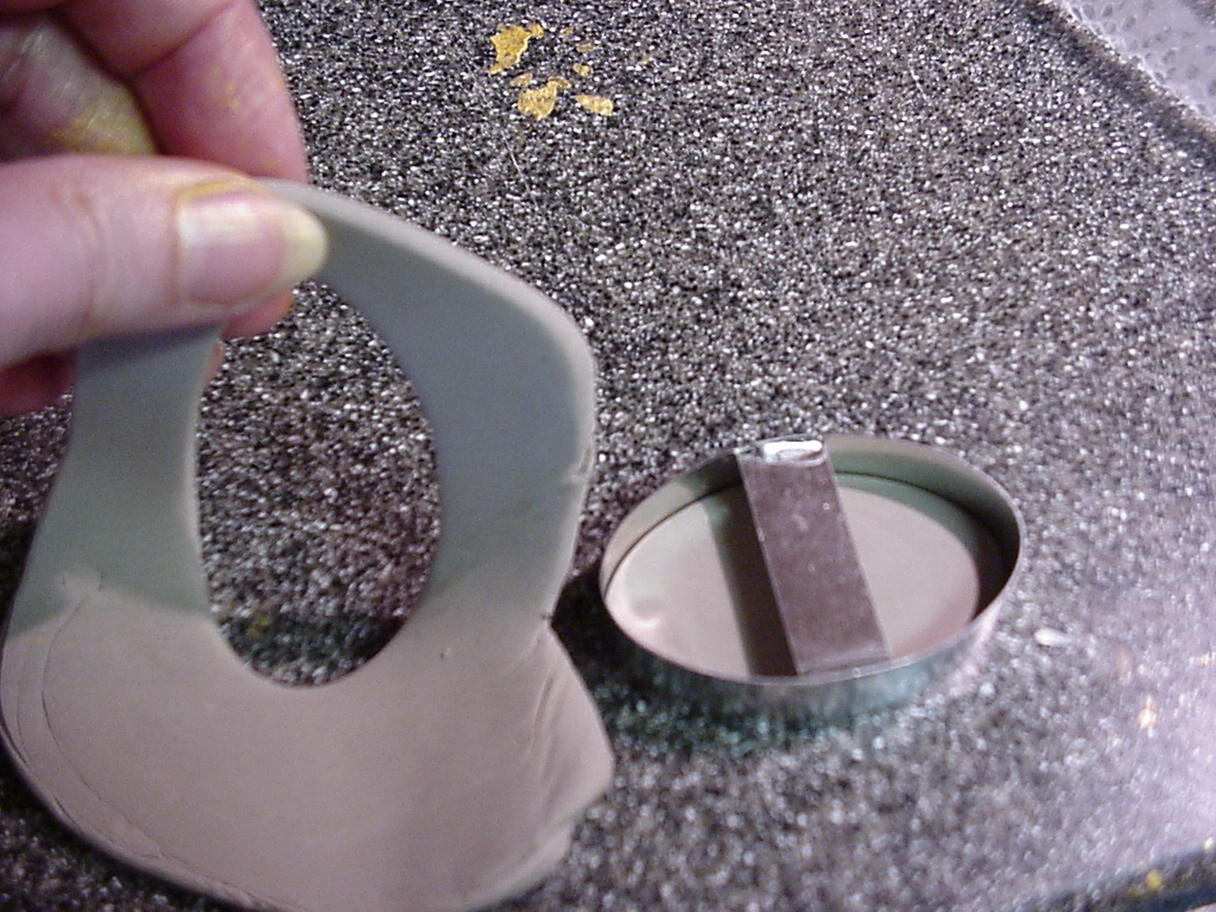
Using the 1" circle cutter, cut 8 circles.
Using the large end of your piping tube, cut 8 circles.
Score the wings, as shown above. ( Please forgive the blurry photo!)
Then cut down the center, creating a set of wings.
Place on the sides of  8 black egg, narrow end down.
Set aside.
Using the large end of your piping tube, cut a curve from both
sides of the 1/2" circles.
Cut in half, as shown, using the PME wheel cutter.
These will serve as ears to the bats and owls.
Set the ears in place.
Roll out white and black
candy clay somewhat thin.
Using the end of the #8 piping tube
Cut 16 circles for the owls eyes.
Then cut 16 pupils using the end of the #4 piping
tube as your cutter.
Place the black pupils on the white eyes
and set in place on the top side of the owl.
Cut 8 more circles using the #8 piping tube as the cutter.
Cut evenly in half and place, as shown, to create eyes for the bat.


Cut 16 Black circles using the #8 piping tube.
Set in place on ghost, as shown.
Spray 8 each of the cupcakes in purple, orange and green.
Carefully place the spider webs in place. Expect breakage.
Then set the owl, ghostie, and bat on top of the cupcakes.

Now go PARTAY!!
HAPPY HALLOWEEN!!


Tutorial and Photography by Jacque Benson
All Rights Reserved 2010
This material may not be republished or reproduced in any manner without the expressed permission of the author.

Monday, October 18, 2010

S'more Cups

 Are you missing your favorite summertime camp goodies?  Well with this recipe, you can have s'mores all year round!!  No messing with any fires either!!


You will need:

7 whole graham crackers (1 cup finely crushed)
1/4 cup powdered sugar
6 tablespoons butter, melted
4 bars (1.55 oz.) milk chocolate candy, divided
12 large marshmallows

Preheat oven to 350 degrees.  Place graham crackers into a large resealable plastic bag.  Finely crush into crumbs using a rolling pin.  Combine graham cracker crumbs, powdered sugar and the butter in a bowl. 


Using a small scoop or a tablespoon, place a scant scoop of crumb mixture in each cup of a mini muffin/cupcake pan.  Press crumbs to form a shallow cup.  Bake 4 - 5 minutes or until edges are bubbling.  Meanwhile, break two candy bars into rectangles.  Remove pan from oven; place one rectangle into each cup.


Cut marshmallows in half using scissors that have been dipped in cols water.  Place one marshmallow half, cut-side down, into each cup.  return to oven for 1-2 minutes or until marshmallows are just slightly softened.   Remove pan from oven to a cooling rack; cool for 15 minutes.  carefully remove cups from pan.  Cool completely.

Break remaining candy bars and place into a microwave safe bowl.  Microwave on HIGH 1 to 1 1/2 minutes or until smooth, stirring every 30 seconds.  Dip the top of each marshmallow in the melted chocolate.  turn top-side up and let stand until chocolate is set, around 40 minutes.  Or set in refrigerator for a few minutes if you have a hard time waiting!

Store at room temperature for 1 week.
 

Tutorial by Rhonda Christensen
2010
All Rights Reserved

This material may not be republished or reproduced in any manner without the expressed permission of the author.

Sunday, October 17, 2010

Western Belt Buckle

Belt Buckle Tutorial


Gray Colored Firm Gumpaste

Fondant Roller

Oval Cutter

Textured Roller, Impression Mat, or Stamp

Mini Texas Cutter

Gum Glue ( 1/4 tsp Tylose with 1 Tbsp hot Water)


Gold and Silver Highlighter mixed with Everclear

Art Brushes


Roll out gumpaste to about 1/8" thickness on a dusted board.
Cut out an oval using cutter  ( If you need a different size, make
an oval pattern and cut it out using a PME wheel cutter)
Texture your buckle with a textured roller, Impression mat, Stamp design
or with another impression you find around your house that will make
an appropriate design.

I used the impression from an Ivory Carving set
we use at Thanksgiving to carve the turkey!
Roll out a very thin piece of gumpaste. I used a mini Texas cutter, but
a star, longhorn, or a smaller oval cutter will work well too.

Moisten the back of the piece and attach to the center of the buckle.

Roll out a very thin cord of gumpaste and press into a small bead mold.
This one was a bead mold from First Impressions.
Attach to the edge of the buckle using gum glue.

Place on the side of a cake pan or dummy to dry completely.

Paint the buckle with silver highlighter and the contrasting
pattern piece with gold highlighter. If desired, you can contrast the
bead border with gold highlighter.

Spray with sugar lacquer.

If you want to monogram the buckle, use the Script Tappits to cut the
desired monogram. Moisten the back of the monogram with gumglue
and attach to the center of the buckle.

Paint with silver highlighter luster dust, then spray buckle again with lacquer.

Attach to your cake using piping gel or buttercream.

Be creative using different shapes, sizes, textures, cutters and borders to make a wide array of
western belt buckles!

Tutorial and Photography by Jacque Benson, copyright 2010
This material may not be republished or reproduced in any manner without the expressed permission of the author.

Monday, October 4, 2010

A "Stress-Free" approach for Stacking and Delivering Tiered Cakes!


Do you just dread cutting dowel and stacking tiered cakes....Do you hold your breath until your cake is safely delivered?
Well, now there is a product the help alleviate the headaches of stacking tiers and avoid shifting during delivery. Stress-free Cake Supports are true to their name! It takes the worry from shifting or sliding tiers! Arlene Haase is pictured here with her creation---the "Stress-free Cake Support System".

Here's how they work..

1. Instead of pushing in and cutting dowels, just center the stainless steel ring over the tier and make a slight impression to mark your spot.


2. Push a bamboo skewer into one impression to figure the depth of your cake.  

3. Mark the skewer and using a ruler, measure the depth.


4. Then use the plastic dowels closest to your depth. You can order them in any size. I have three different sizes.


5. Screw in the plastic legs to the stainless ring measuring to the the exact depth.


6. Then just center over the top of the cake and press in.


7. Pipe a line of buttercream over the ring and place the next tier on top of the ring.


Repeat the same process for the next tier, until your cake is stacked.


Not only does this system save time, but the energy of worrying about the stability of your tiered cake!


Now the cake is complete and ready for delivery....stress free!!


Click on this link for more information about using and ordering Stress-Free Cake Supports:
I recommend this support system for any tiered cake!
 Every cake decorator deserves the ease of Stress-Free Cake supports.


Tutorial by Jacque Benson
2010
All Rights Reserved

This material may not be republished or reproduced in any manner without the expressed permission of the author.

Search This Blog

The Tutorials This Week Were Generously Shared by

RHONDA CHRISTENSEN, EARLENE MOORE, BOBBIE NOTO, EDNA DE LA CRUZ & TONI BRANCATISANO

And to ALL of our Readers...

Above all, have fun and keep baking!

Think CHOCOLATE!

A Very Sweet Tutorial by Bobbie Noto

A Very Sweet Tutorial by Bobbie Noto
I was instantly in love when Bobbie Noto shared this cookie with SugarTeachers! She is an amazing talent. For instructions on how to create this adorable cookie, click on the photo and don't forget to subscribe to Bobbie's website!

Pillow Cake Tutorial by Toni Brancatisano

Pillow Cake Tutorial by Toni Brancatisano
How beautiful! A great tutorial shared byToni Brancatisano. Click on photo to see the tutorial!

Pistachio-Cardamom Cake

Pistachio-Cardamom Cake
Click on link for Edna De La Cruz's dee-lish cake recipe.

Related Posts with Thumbnails